Create new website and install on server.
Now a days a person who does not know about java, css, html coding or any other computer language he can also build a professional website. General computer knowledge is enough to build a new website. But how to create website and install on server that we will know in this page. For practice we can create local server in our computer (XAMPP Installation) and host wordpress website or any other website as learning purpose.
Take attention on following things
Domain name (your website address, www.Yoursitename.com) or .org, .in, etc. what you will choose as per your company/institute/organization name.
Website hosting (a hosting company that hosts your website) – domain & hosting service provide may be same or different , its your preference.
WordPress, Jumla, Drupal etc. (commonly used website platform – where you write your content, make design and that will appear to viewers throughout world). WordPress is free and most commonly used platform.
You have to secure a domain name (say your company name which will be your web address) first and a web hosting account. These two things are necessary to make website run and can access in internet. First you have to open an account in hosting provider website.
Name of some hosting provider company –
- WordPress.com (wordpress.org and wordpress.com is different, wordpress.org provide free wordpress website building software which need to be installed in your hosting providing server. And wordpress.com provide domain as well as hosting service itself, they manage everything , you have to write your content in wordpress panel only. Drawback also there, you have limited control over it)
- Hostinger
- Hostgator
- Bluehost
- SiteGround
- Namecheap
- DigitalOcean
- Godaddy
- HostPapa
- DreamHost
- iPage
- GreenGeek
- InterServer
- A2Hosting
- Inmotion
- Scala Hosting
Setting up a WordPress site is usually a simple, one-click process through your web hosting service.
Once you’ve finished the guide, you’ll have a fully working website online, on a custom domain name and fully accessible by others.
Choose a Domain Name
In order to build a website, the very first thing you’ll need is a domain name.
The domain name is your website name and address. That address is used by visitors when they try to find your site through their internet browsers.
The domain name of a website is like xyz.com
You may choose your own.
Cost of Domain name is varies from 10 USD to 60 USD per year. It has to be renewed yearly basis. Generally its cost about 15 USD.
To choose a domain name few things you have to know –
For personal website yourname.com
For business website yourbusinessname.com
Some generic extension name are–
.net, .org, .com for international visitors or traffic.
Generally hosting company provide free domain name for first year. From second year they charge for domain renewal.
Domain registration and web hosting
Without web host your website file will not be accessible. So you have to purchase a plan (there are several plan provide by hosting company). I am giving you some plans name-
Shared hosting (single website/multiple website/ with various features)
WordPress hosting
Managed wordpress hosting
VPS hosting etc.
Reliable and affordable hosting plans generally ranges from 3 USD to 14 USD per month.
Some features you have to keep in mind before purchasing a hosting plan–
Unlimited bandwidth
SSL (for security purpose)
24×7 customer support with livechat
CDN
One click installation ofWordpress software
I have already given name of hosting as well as domain provider company, go through their websites for details.
WordPress setup on host server
After taking domain name and web hosting plan you have to install wordpress (good platform for cms – content management system). WordPress comes with tons of free designs and addons which make your website professional and unique. It is also user friend. You need not to know html coding, just like prepare a document in MS word. Your hosting provider will do everything regarding installation of wordpress software.
- Sign up to hostinger.com
- Create account with your mail id
- Purchase a hosting plan (say shared hosting, business plan)
- After purchasing they will provide you a hpanel (like cpanel)
- Sign in to your hostinger account and choose domain name (depend on availability). Chat with them and for registration of domain. If you have already a domain then you have to change the nameserver (to hostinger nameserver (ns)) of that domain or transfer that domain to hostinger.
- After finalization of domain registration you will see your domain name in your hostinger hpanel.
- Set up cloudflare protection and SSL certificate.
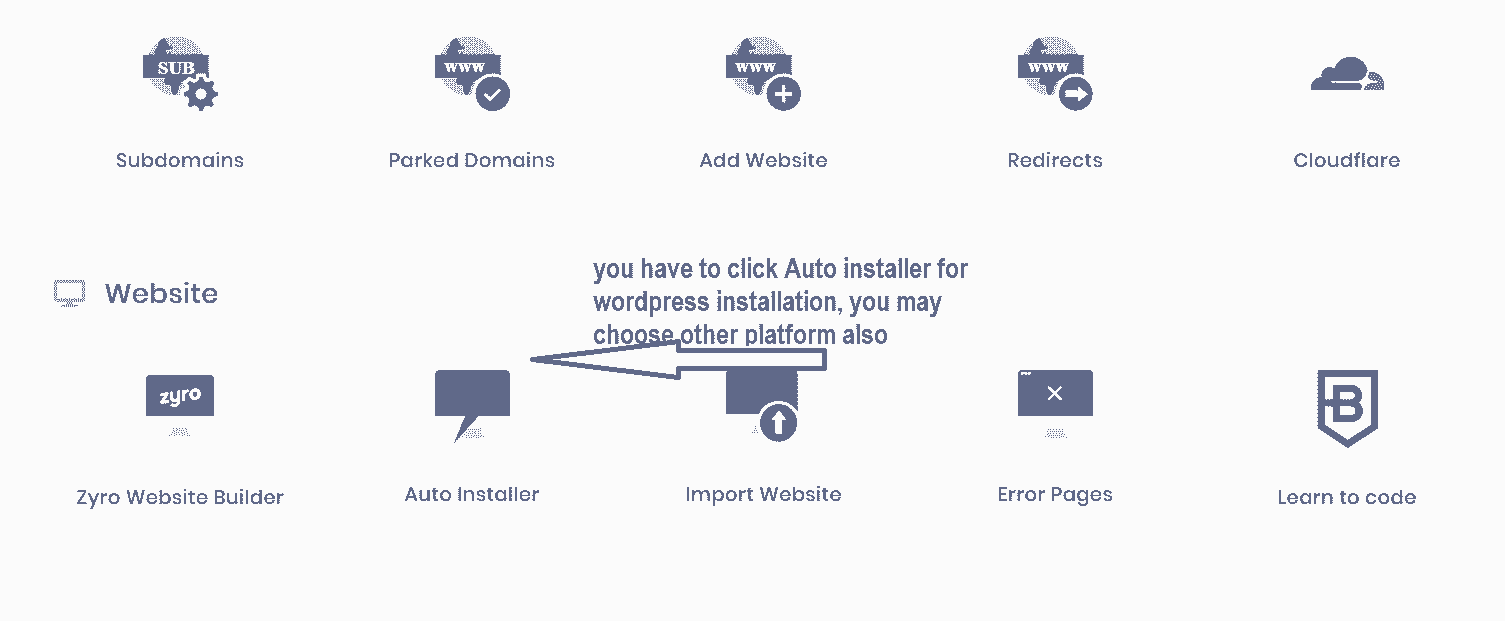
- Now go to HOSTING section, there are several icons present.
- Click AUTO INSTALLER, you will see several platform for CMS. You just click wordpress.
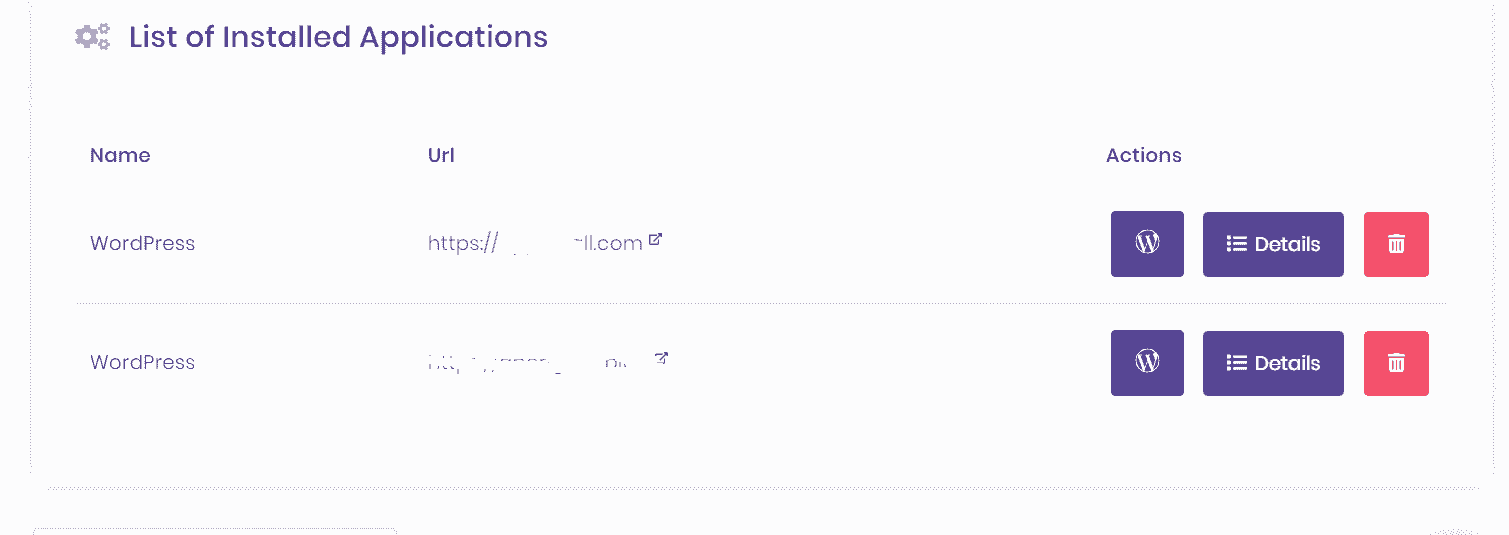
- Before installing wordpress you have to fill some column, such as Site title, http or https (choose https), user name and password . Install wordpress.
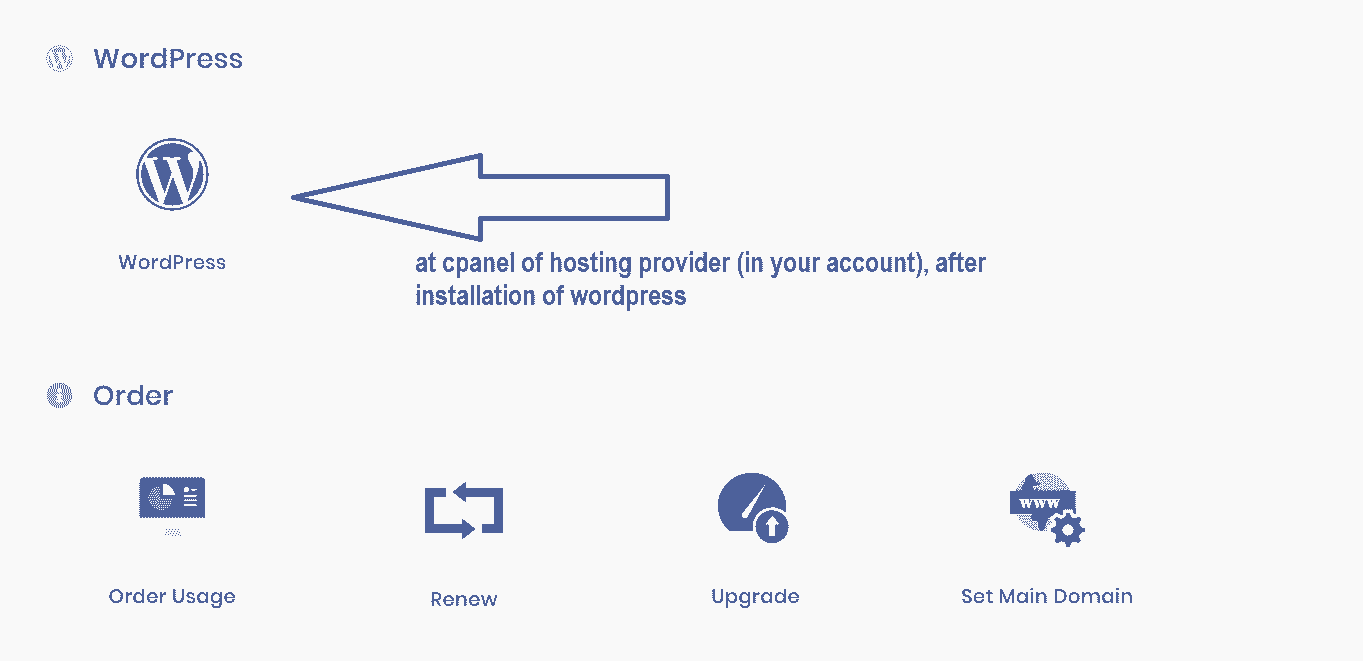
- After installing wordpress you have to open your browser, type https://xyz.com/wp-admin (say xyz.com your domain name). You can check your website name in browser whether it is showing or not.
- Now you will see the admin panel of your WORDPRESS where you will build your website.


Customize Your Website Design and Structure
It’s now time to build a professional website by picking a nice design, customizing it, and adding branding elements.
Choose a theme and install /activate it
WordPress themes are very responsive. You can change from one theme to another theme without losing any basic contents. Most importantly, there are thousands of free and paid WordPress themes available on the web.
If you want to try a free theme, the best place to go is the official theme directory at WordPress.org. You are free to browse through that list and pick any theme but fancy themes are generally cause speed issue of your website, choose a light theme initially. After installation you activate it.
Customization of theme
After installation of theme you have to customize it.
- go to wordpress admin panel, left sid of panel you will see Appearance.
- Under appearance you will see themes, customization etc.. Click customization.
- There are several option to customize.
Add a logo
The first thing that most users want to do is upload their logo and have it displayed in the top left corner of the site. From customization option you can see upload a logo. You have to see the size of logo for that particular theme you have chosen. Other options you have to cover such as –
The first thing that most users want to do is upload their logo and have it displayed in the top left corner of the site. From customization option you can see upload a logo. You have to see the size of logo for that particular theme you have chosen. Other options you have to cover such as
Site title and tag line – just type into box
Site icon (generally 512×512 pixel) –upload image of icon
Background color setting
Text font / size /color
Add side bar
Home page setting
Options remain Post page or your static page. Post page means your blog posting page and static page you may choose your own. If anybody just type your website name without any extension, that is your home page. (just xyz.com, not xyz.com/home)
Add widget
Widgets are those small content blocks that usually appear in websites’ sidebars. You have to set widget (recent post, category, page, text, image etc several widget appear in each post/page of your website. No need to set for each pages or posts)
Add sidebar
This widget are generally set on side bar.
During customization of theme, after every changes you have to PUBLISH it to appear latest changes.
Add Pages
For a website pages are must, without pages your website is totally blank. Like MS word website also have header and footer with fixed content for each pages of website
Below pages are essential for a website
Home page /it’s the first page that your visitors see when they go to your website
About page / a page explaining what your website is about
Contact page / a page showing your contact
Privacy page / it’s a policy page what you want to say to your visitors
Blog or posts page / its knowledge sharing page, you can use the blog page as a place for your company news and announcements.
Create a blog page
In your blog page all of your posts (news or announcements time to time) will show.
Adding new post
To add new post, simply go to Go to “Posts → Add New.”
Set Up a Navigation Menu
To add new post, simply go to Go to “Posts → Add New.”
You can choose the page name which you want to make appear in your menu.
Go to “Appearance → Menus,” and from there, click on “create a new menu.”
- By adding a title. The menu title doesn’t matter, but it helps to recognize your menu among other menus, you can have more than one.
- Select the pages to be added to your menu. You can also add other items to the menu – like posts or custom links.
- Click on the “Add to Menu” button to add the selected pages to your menu.
- Drag-and-drop menu items to arrange the links in order of importance.
- You can set sub menu, keeping one page as main (keep that box one step right)
- Select a menu display location. It will differ from theme to theme.
- Lastly you have to save your menu.
SEO plugin installation
Your website should appear in google/bing search engine if somebody type any words(which word or phrase or posts is present in your any pages or content) your website name will appear on top of page. SEO (search engine optimization) plugin do this job smoothly. There are so many free plugin in wordpress plugin section. I am giving some names of SEO plugin –
All in one SEO
Yoast SEO
Rank Math SEO etc.
Just install that plugin and activate it. You have setup that plugin as per your requirement. Otherwise keep default initially.
Google Sitemap
You have to submit sitemap to google for indexing of your website for better SEO.SEO plugins do this things automatically , you have to set up that plugin.
Google Webmaster verification
Sign in to google and verify your new website for search console.
Google analytical tool to check traffic
Google analytical tool is a free tool for checking traffic real time. Sign in to google and get analytical code (java script) which you have to put in your website head tag (use plugin “insert header and footer” install and activate it put you tracking code in head tag of that plugin). You can see real time traffic of your website with location/device/network/IP etc.
WordPress Jetpack plugin do both things like google sitemap creation, webmaster verification etc.


Very good information. Want to know about wordpress settings.